How to better install Solar Road Studs?
Use a brush to clean the location where Solar Road Studs are installed, and make sure that the installation location is dry.
- It is very important to place and install safety isolation facilities, and during the entire dynamic construction process, whether it is a new road or a road that has been opened to traffic, everyone should be in safety facilities, such as construction on traffic roads. , The ratio of safety personnel to installation personnel should be 1:1. For construction on unopened sections, the ratio of safety personnel to installation personnel should be 1:3.
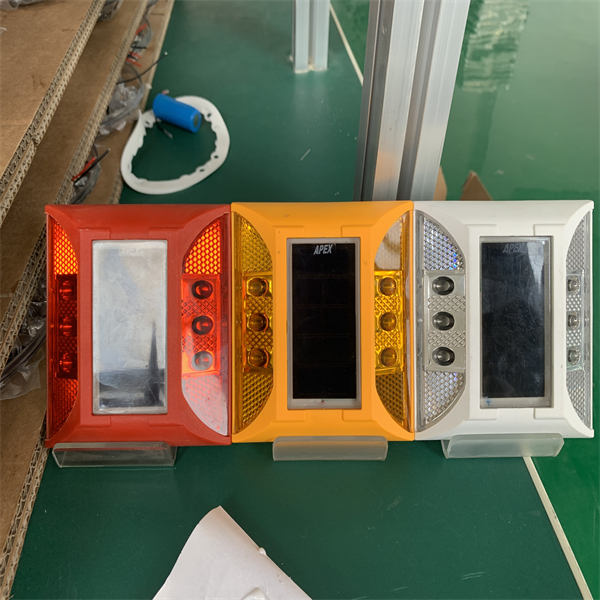
- Determine the installation location of Solar Road Studs and ensure that the installation location is level. For roads with expansion, cracks and unevenness, the roads should be smoothed and leveled in advance.
3. Use a brush to clean the location where Solar Road Studs are installed, and make sure that the installation location is dry.
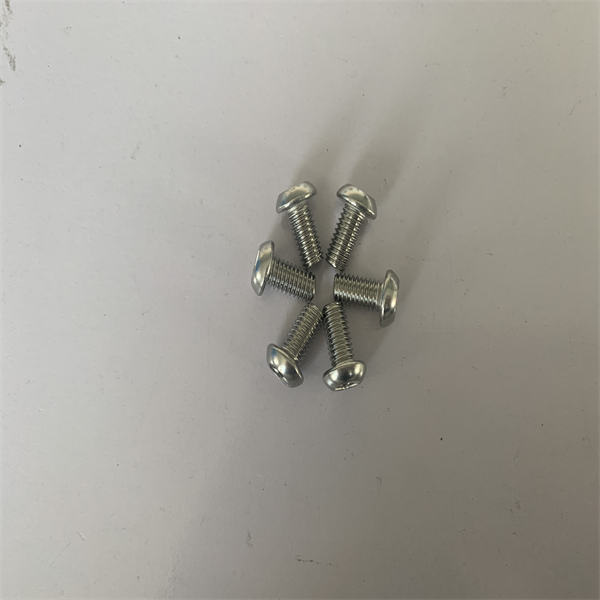
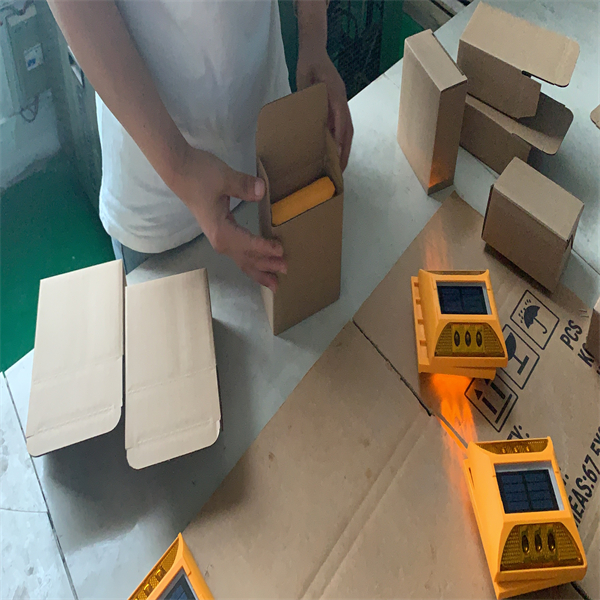
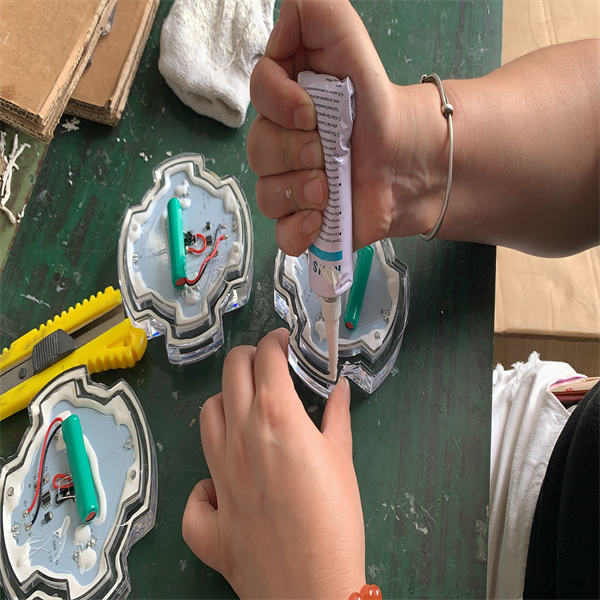
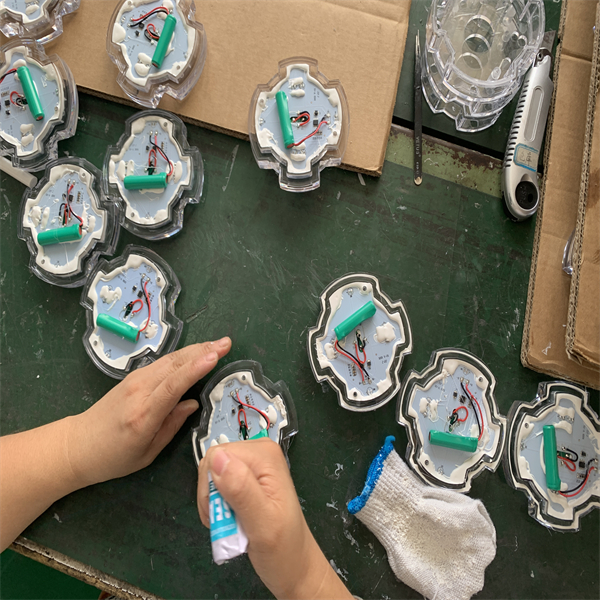
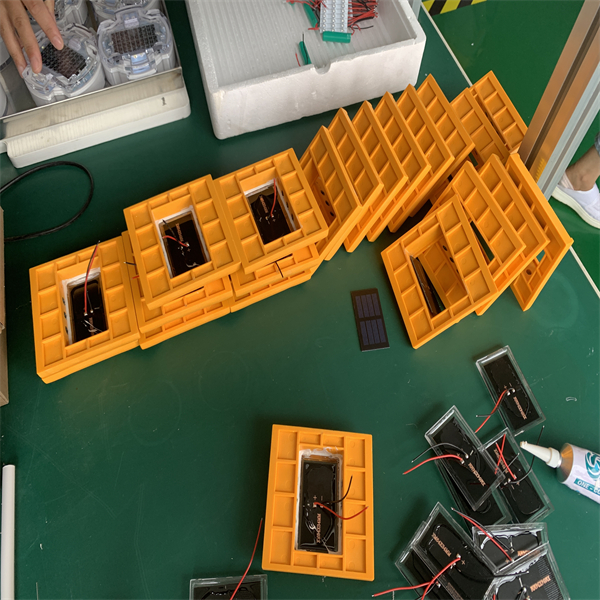
4. Take an appropriate amount of glue and apply it on the road stud evenly.
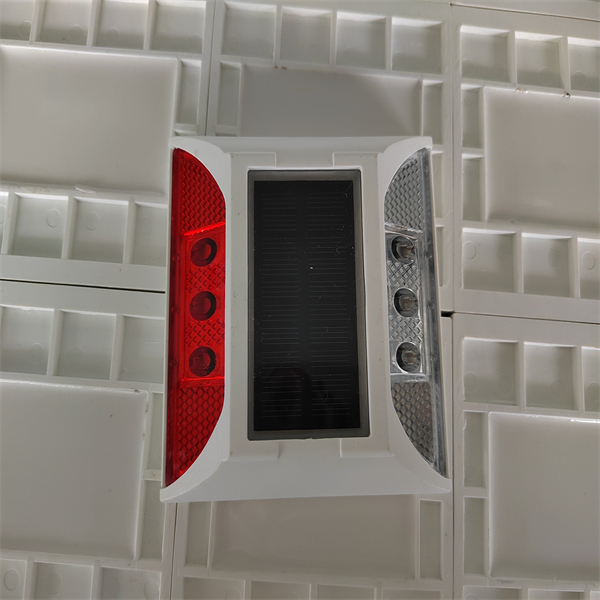
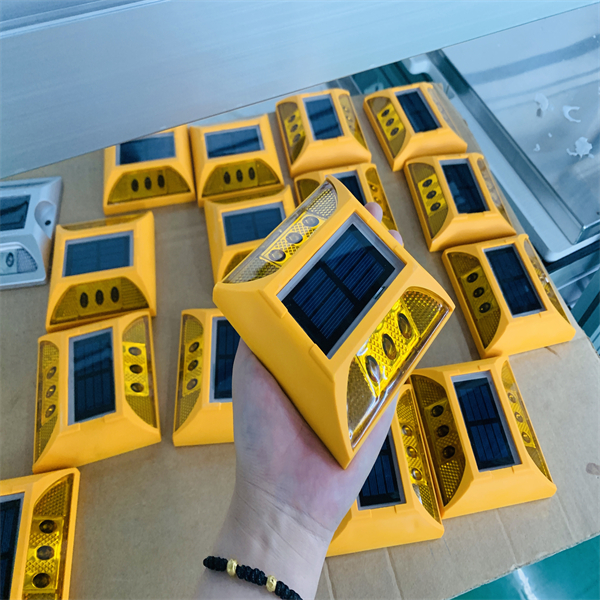
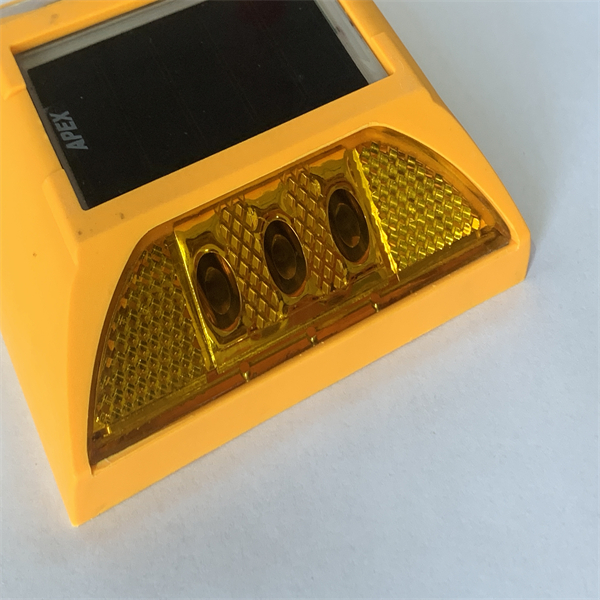
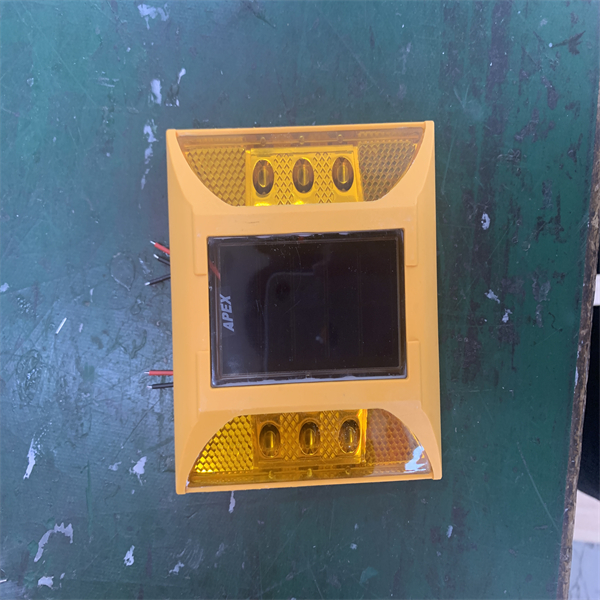
5. Firmly press the Solar Road Studs on the installation position, make sure the direction is correct, if there is too much glue, be sure to clean it;
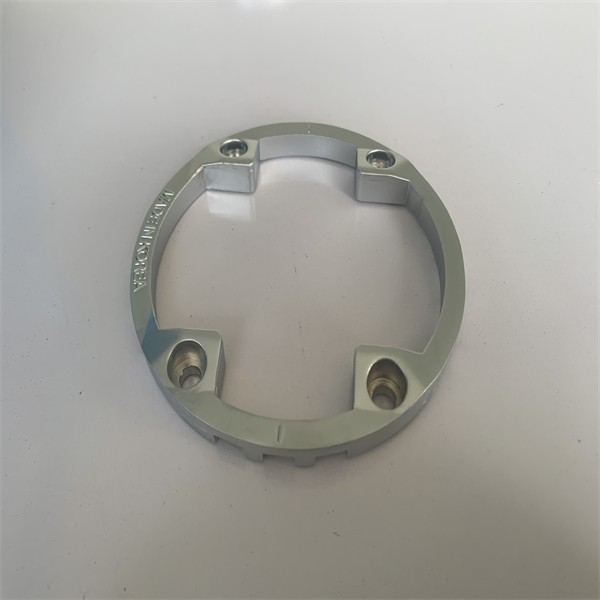
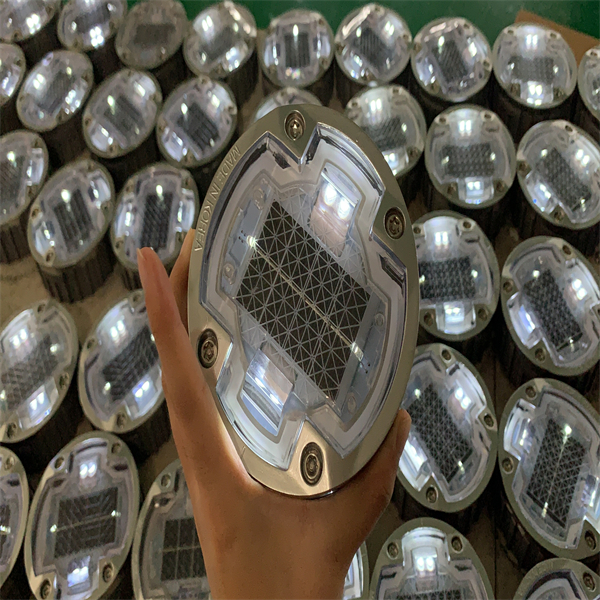
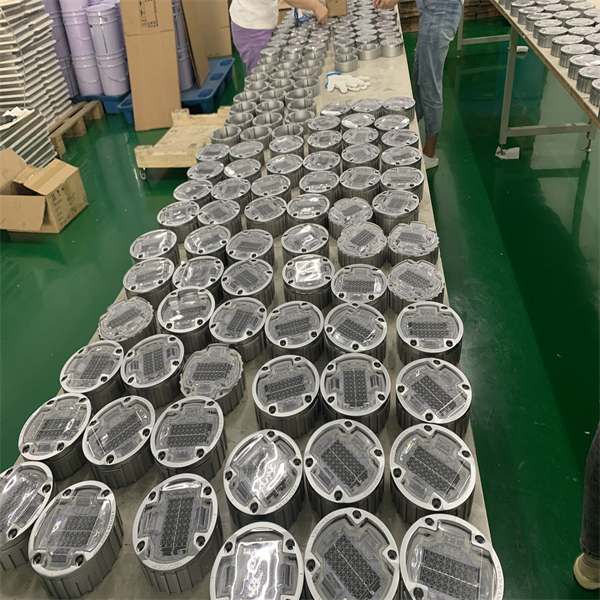
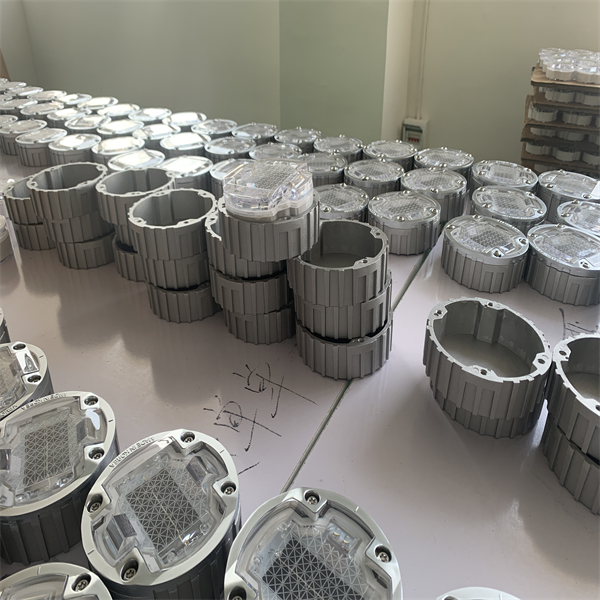
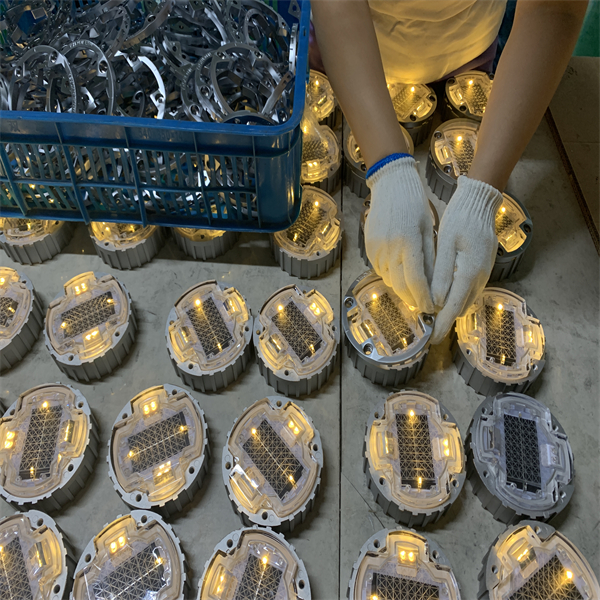
6. If it is a cast aluminum Solar Road Studs with feet, make sure that the depth of the hole is greater than the depth of the nail foot by 1cm, and the diameter of the hole is greater than the diameter of the nail foot by 2mm.
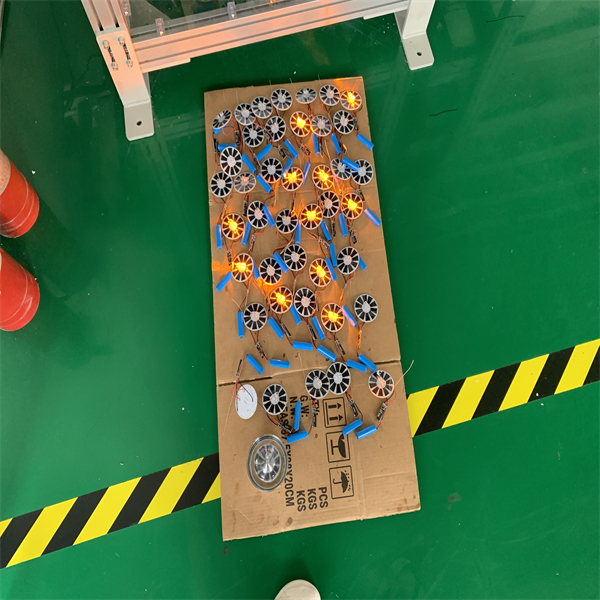
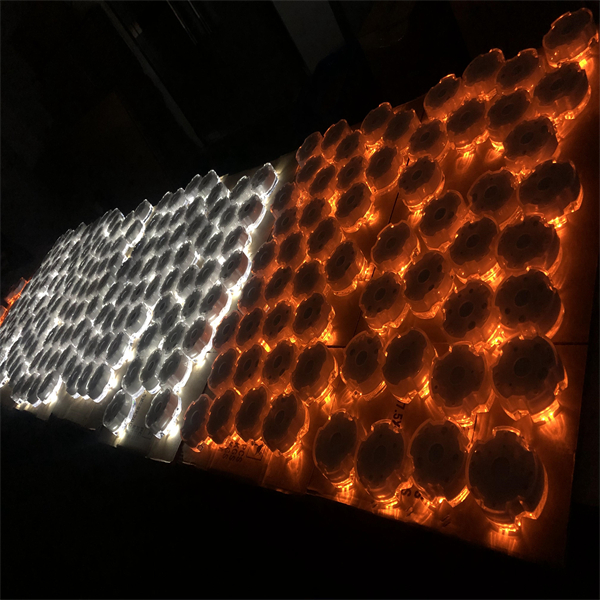
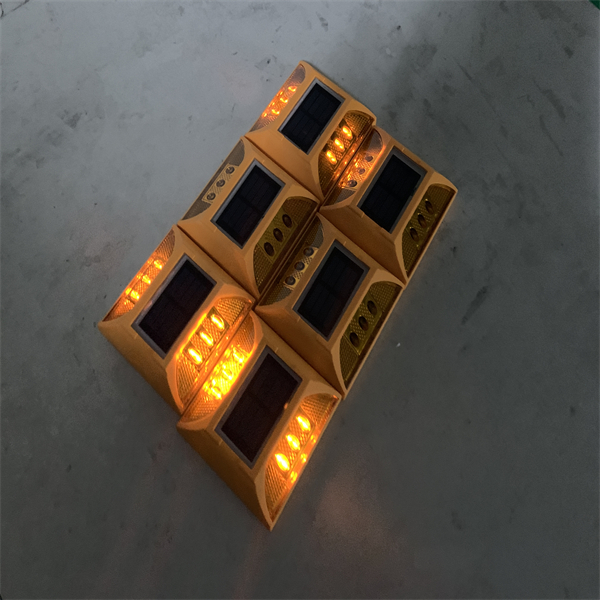
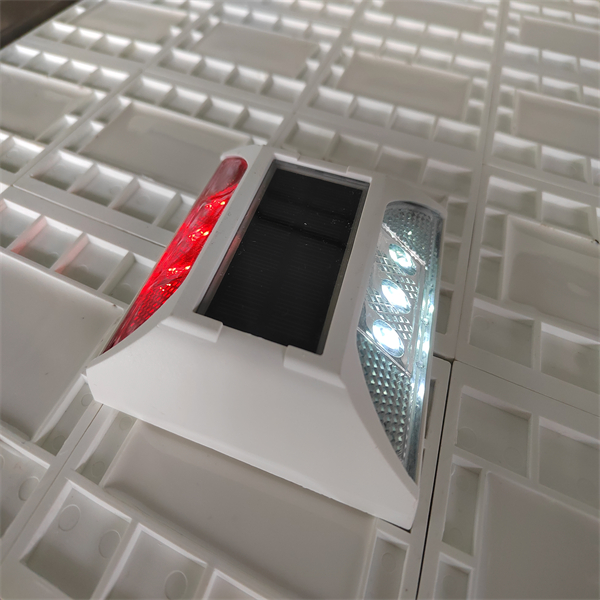
7. A tour should be done within two hours after the installation of Solar Road Studs to make sure that all the road stud lights are not installed upside down, installed crookedly or crooked.
8. After 4 hours of curing, remove and install isolation facilities.