Detailed installation method steps related to Road Studs
(1) First, use a ruler to determine the installation position, install one at 15m, (install according to the drawing), ensure that each position is longitudinally in a straight line, and at the same time horizontally aligned left and right, the installation distance shall be subject to the design requirements.
(2) (Installation of Road Studs with feet) Use an electric hammer with a diameter of ∮22mm to drill holes. The depth of the hole is 10mm longer than the nail feet of Road Studs. After drilling the hole, blow the dust out of the drilled hole.
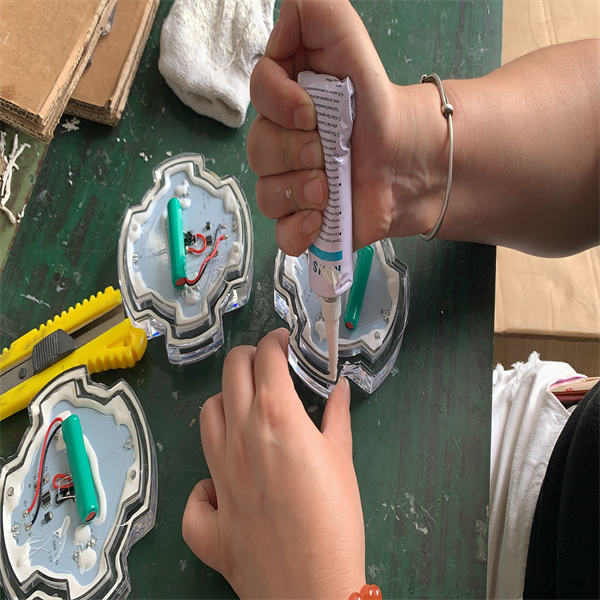
(3) The ratio of glue is 1:0.7 for glue A and glue B, and then add 15%-30% cement as a filler (the glue is not easy to mix too much at a time, enough for one person to stick 50-70 road studs. glue). The colloid should be stirred evenly, and the color (hand electric drill with agitator) should be consistent. Each road stud needs about 40-50 grams of glue for bonding.
- Protective tools:
A number of road cones, 2 sets of construction diversion cards, baton and reflective clothing for each person. Before departure, everyone must wear reflective clothing, and the construction signs and road cones must be placed at the construction site. (Workers have to do: don’t laugh, don’t fight, obey instructions, and not drink alcohol 6 hours before going on the road), each team has 2-4 security guards.
- Tools:
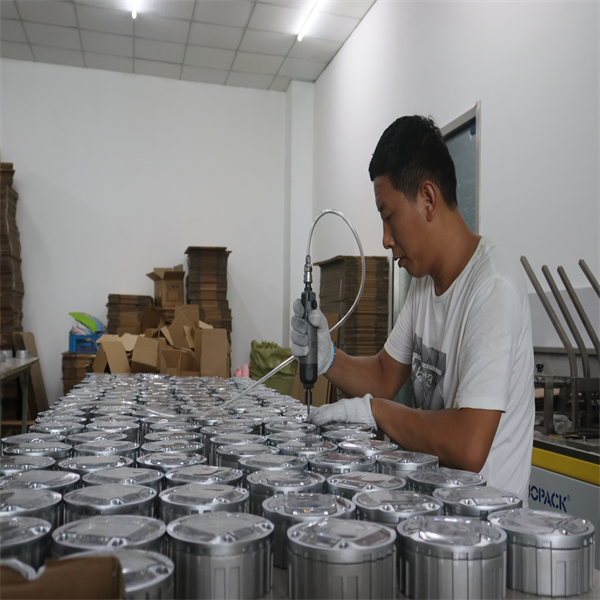
Electric hammer, drill (22mm), disc ruler, batch knife, small plastic bucket, chalk, generator, electric drill, glue mixer.
- Products:
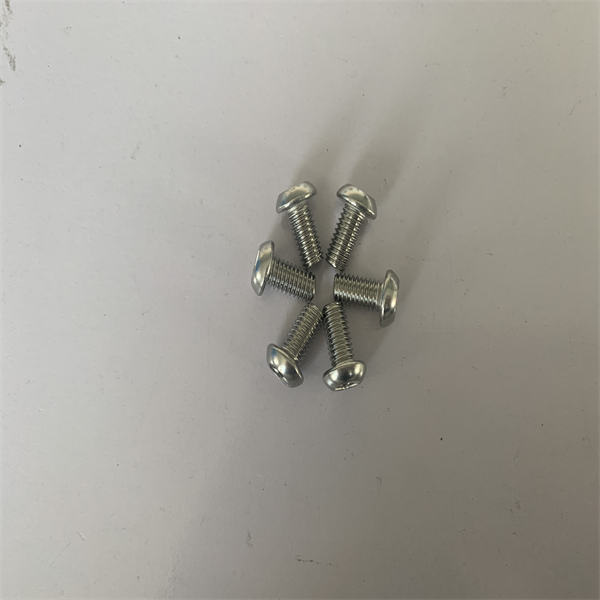
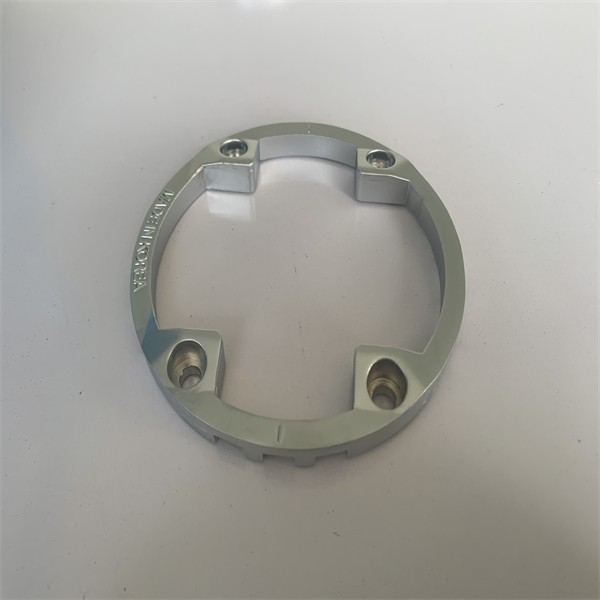
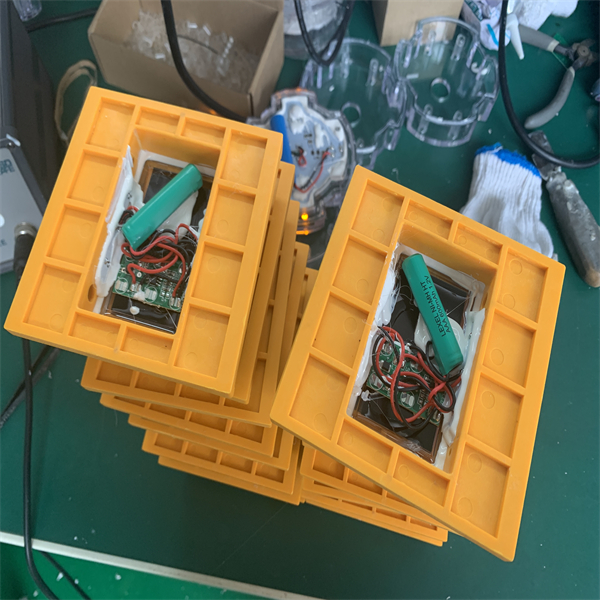
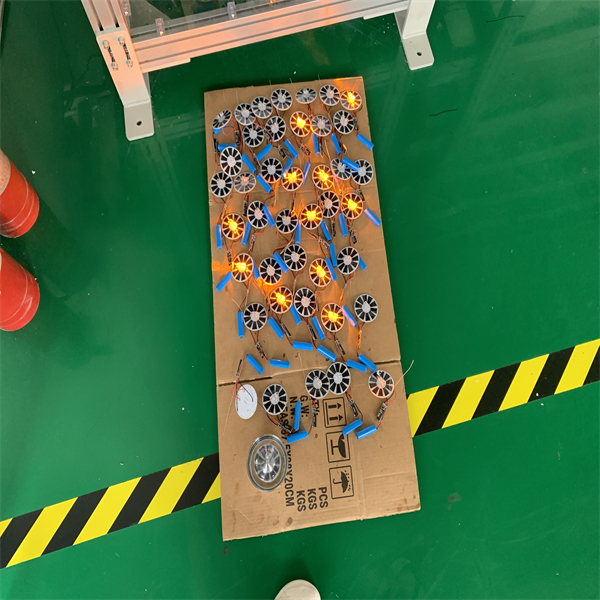
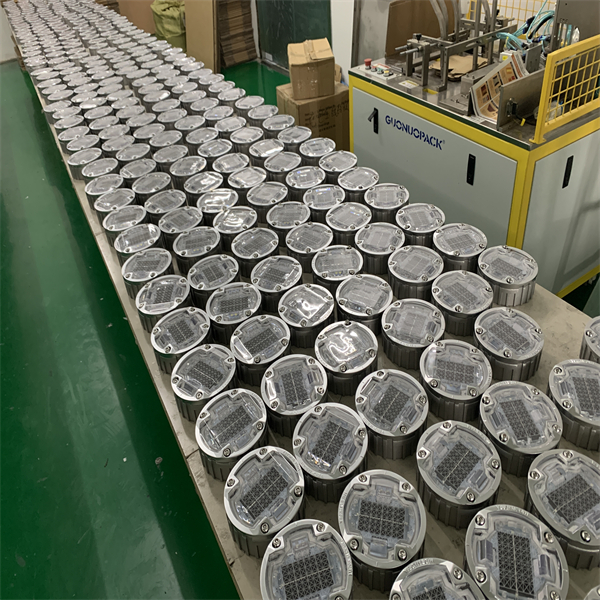
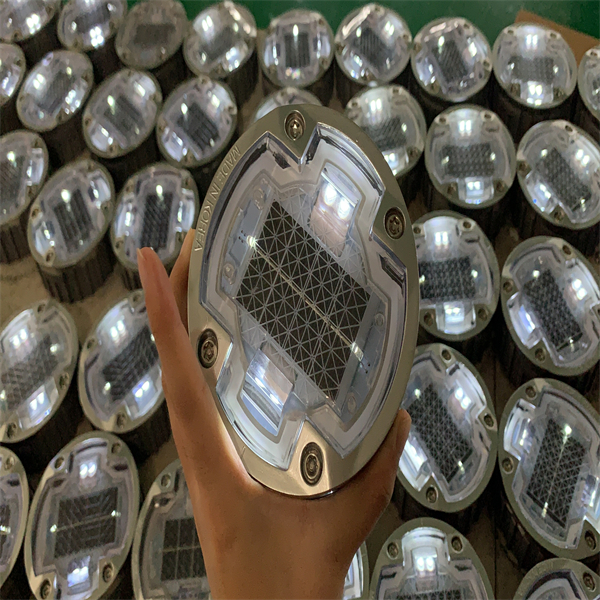
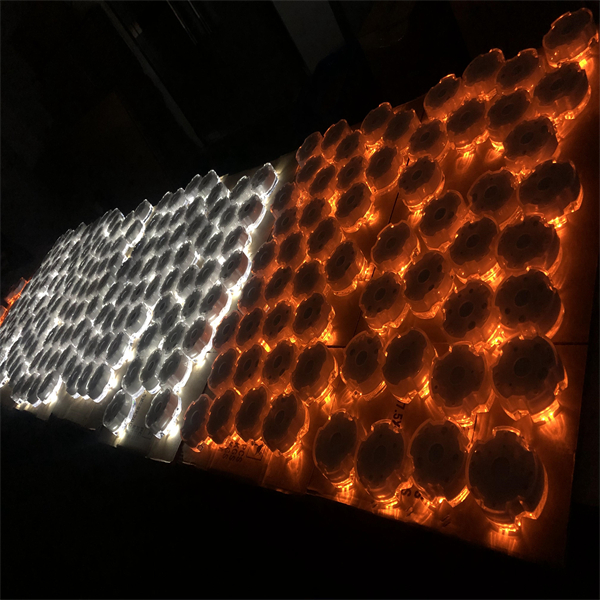
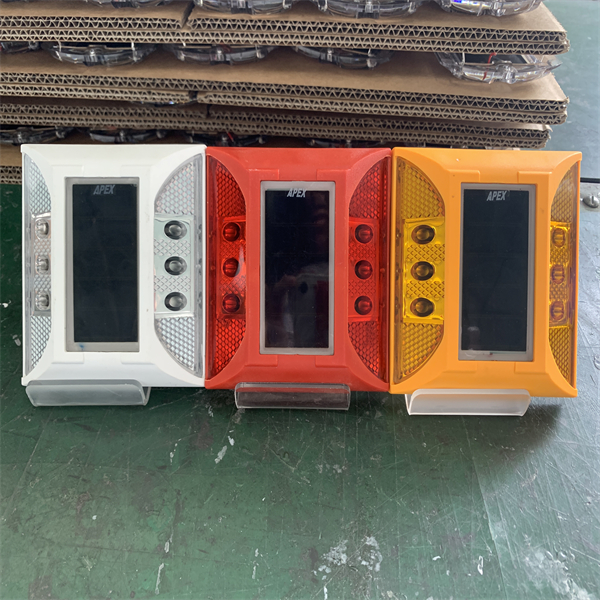
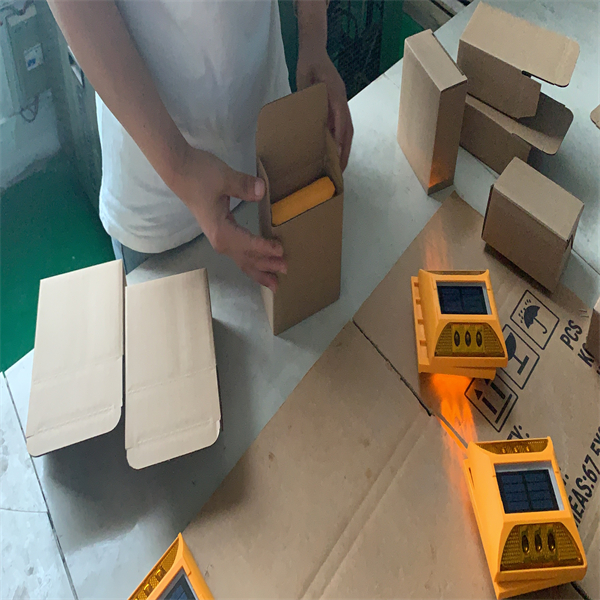
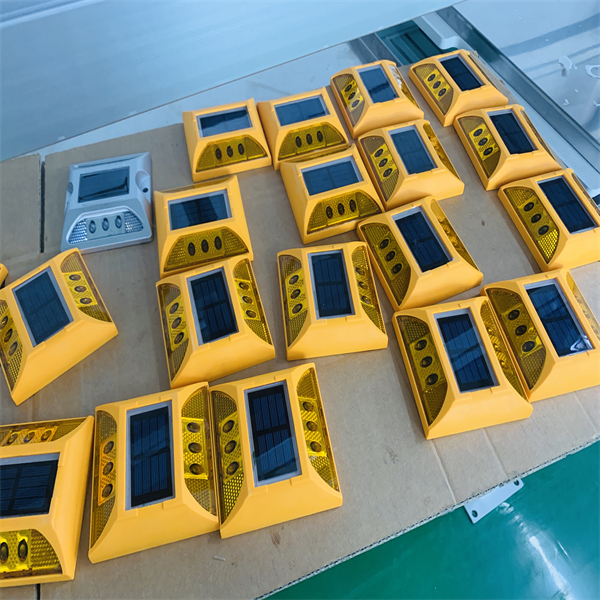
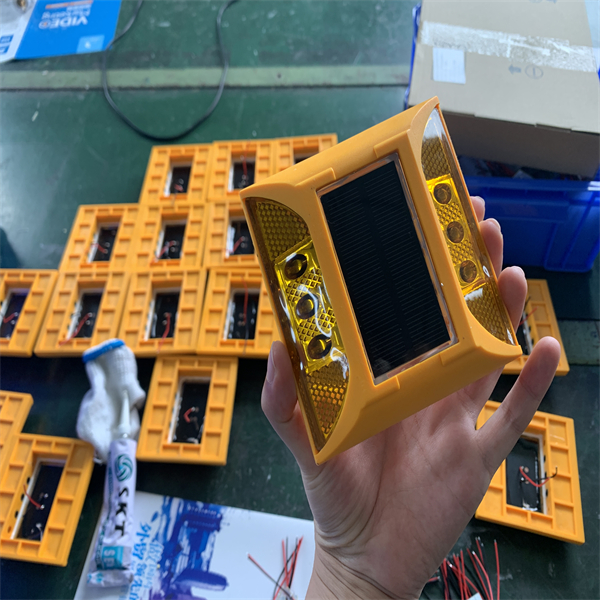
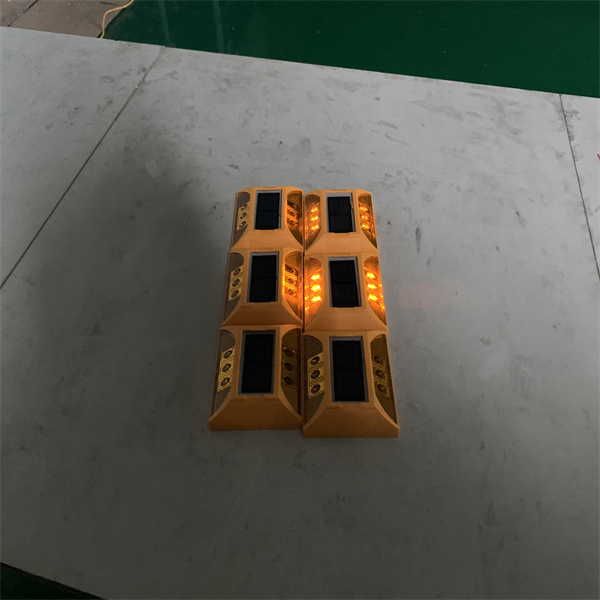
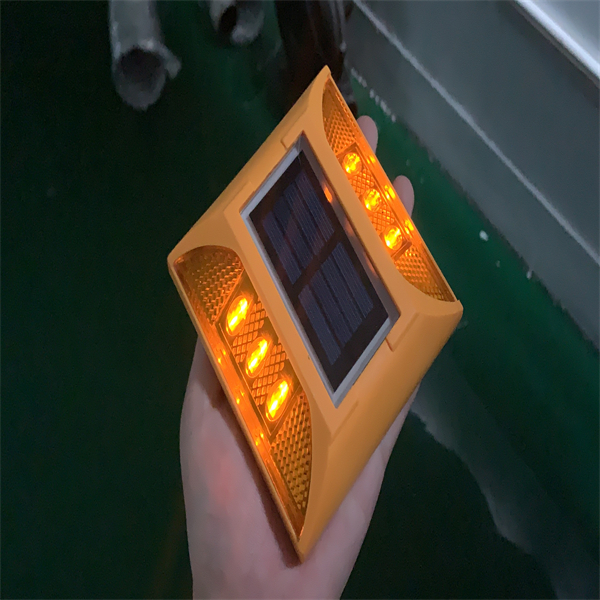
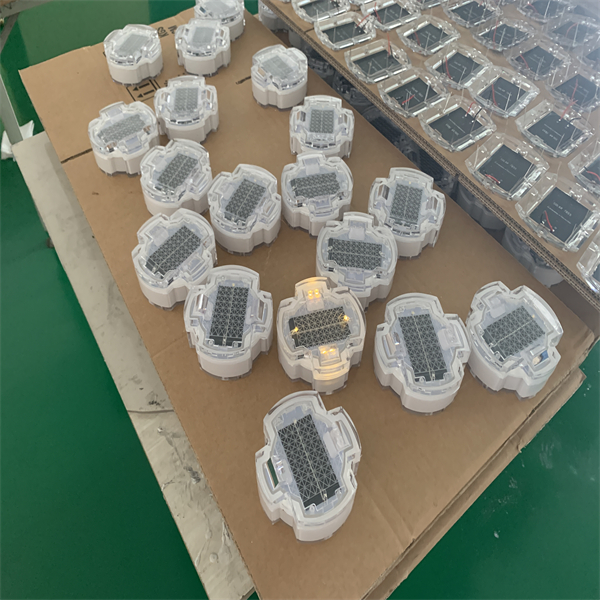
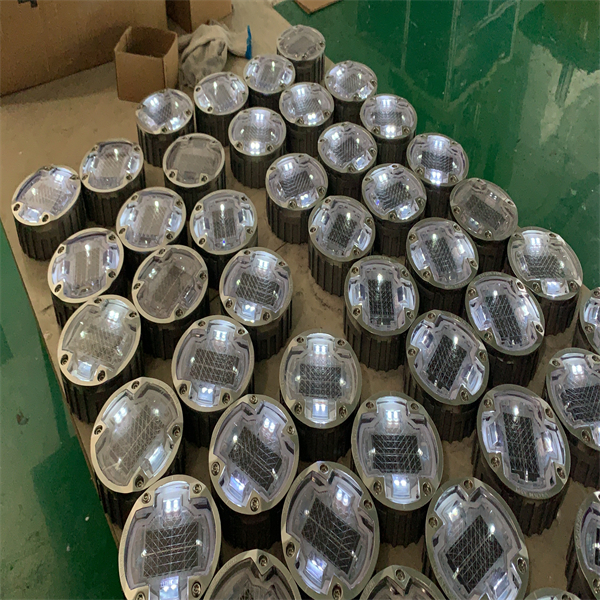
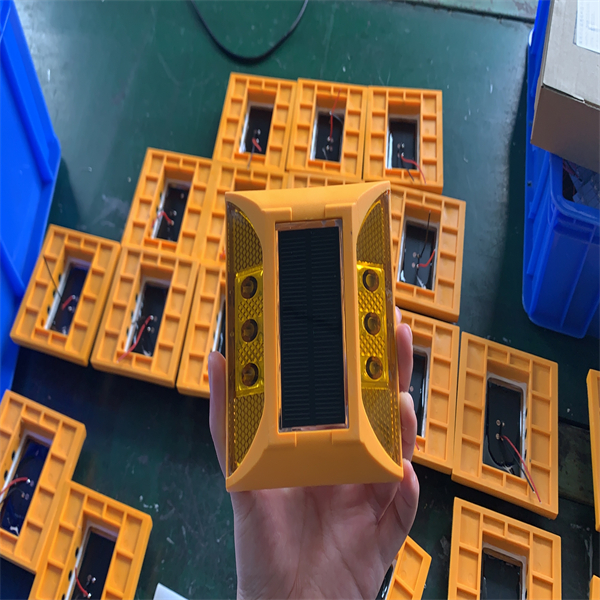
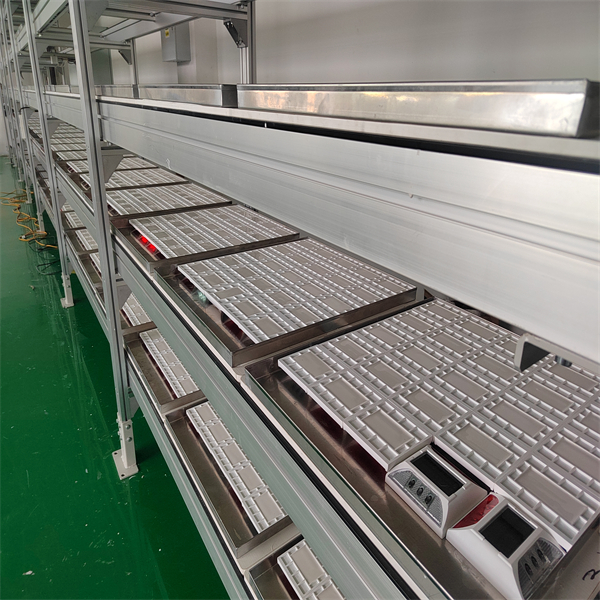
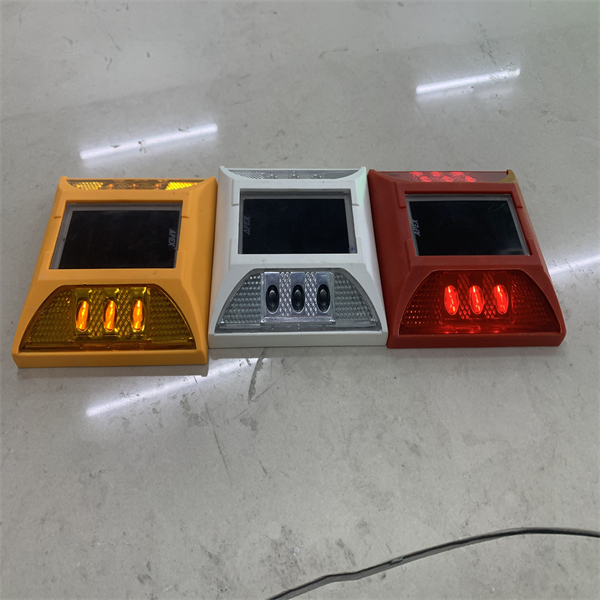
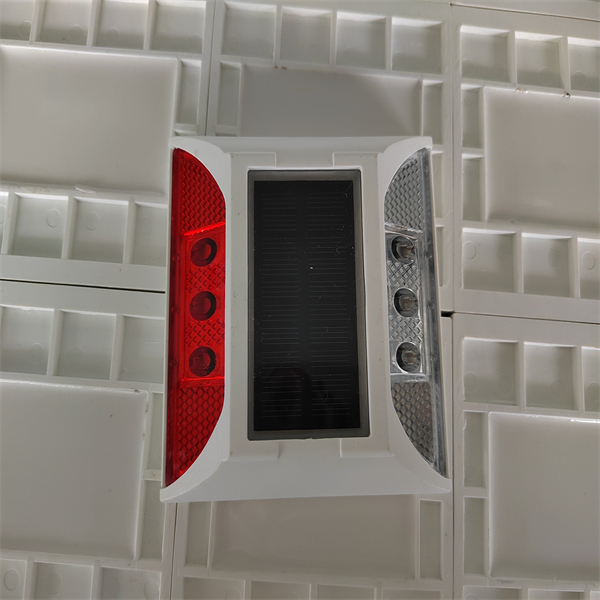
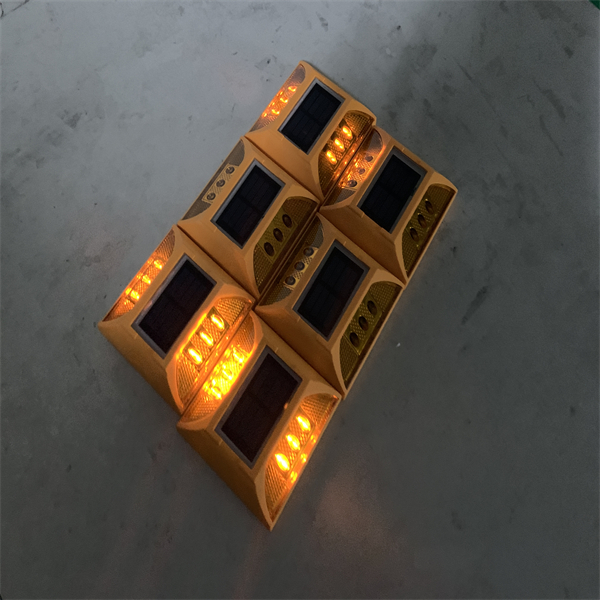
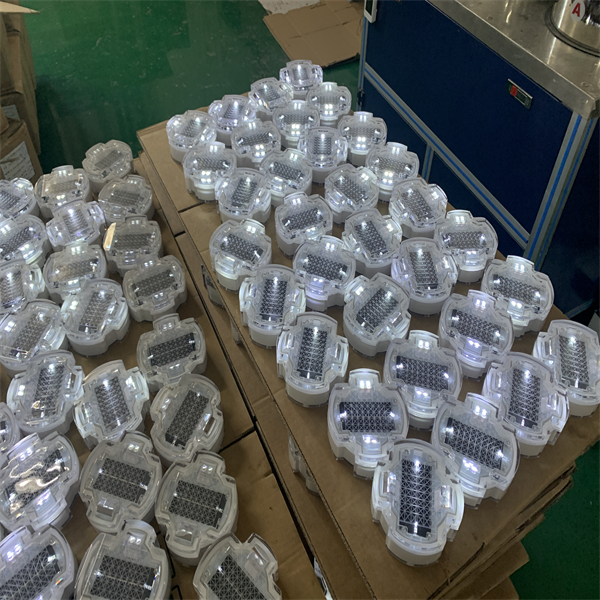
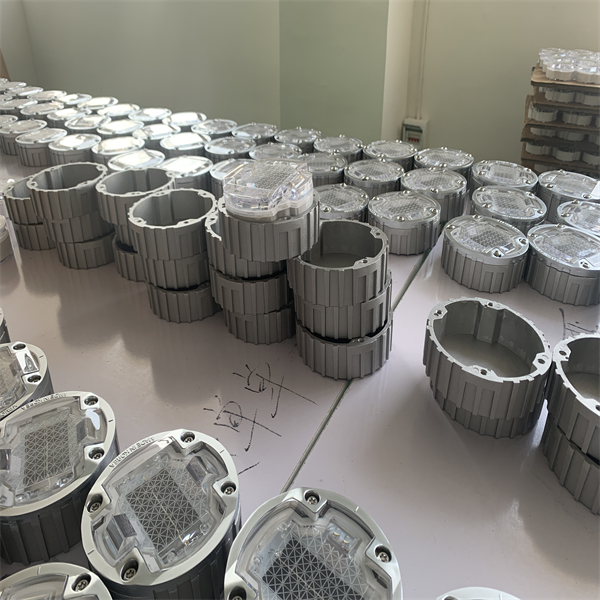
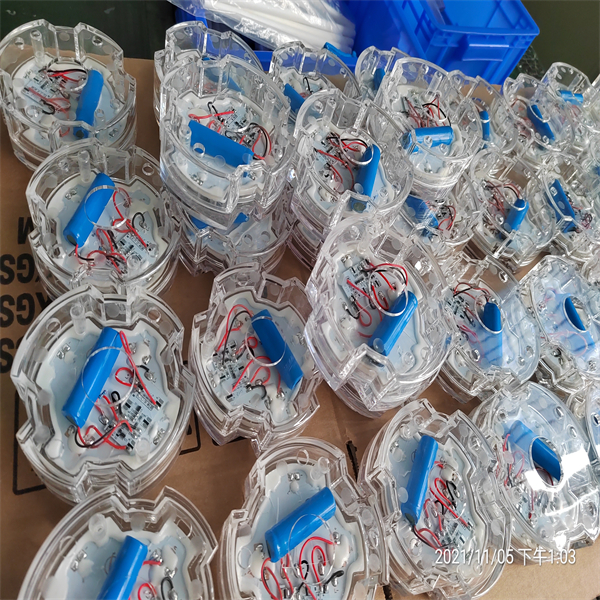
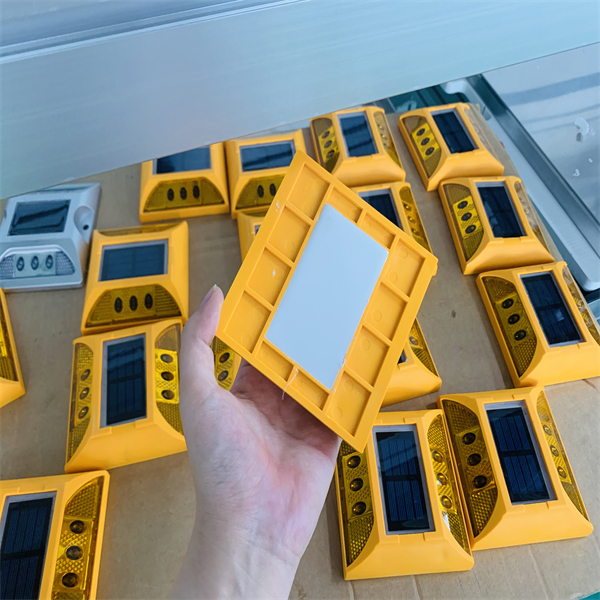
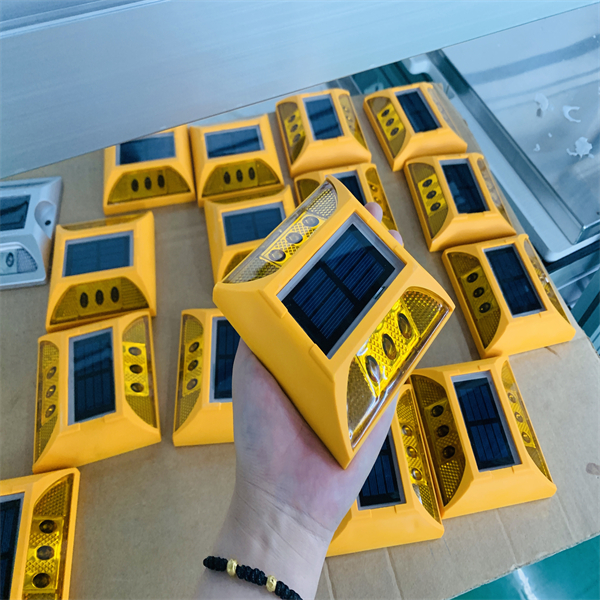
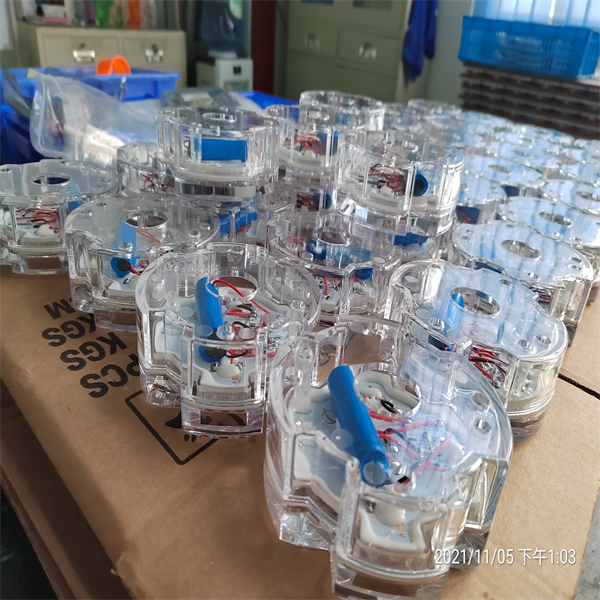
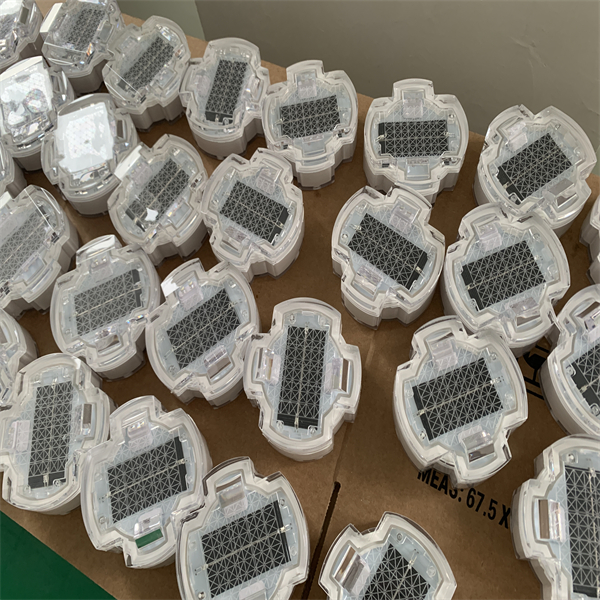
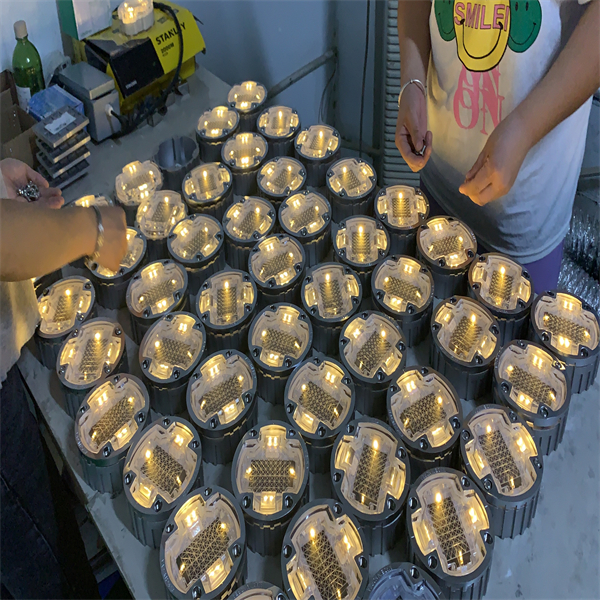
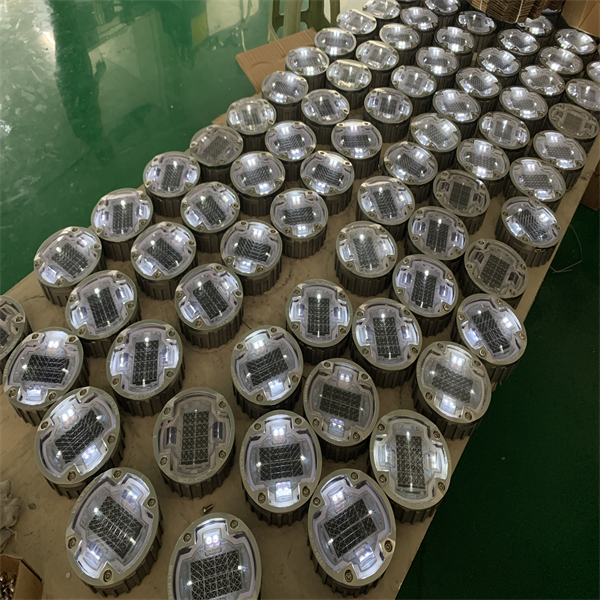
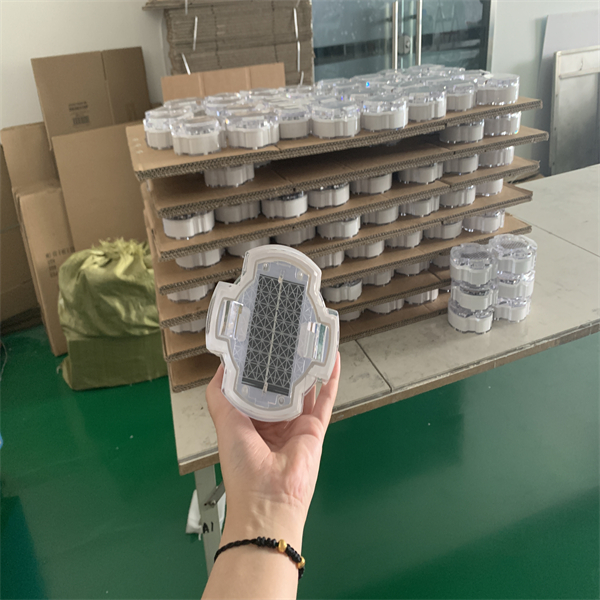
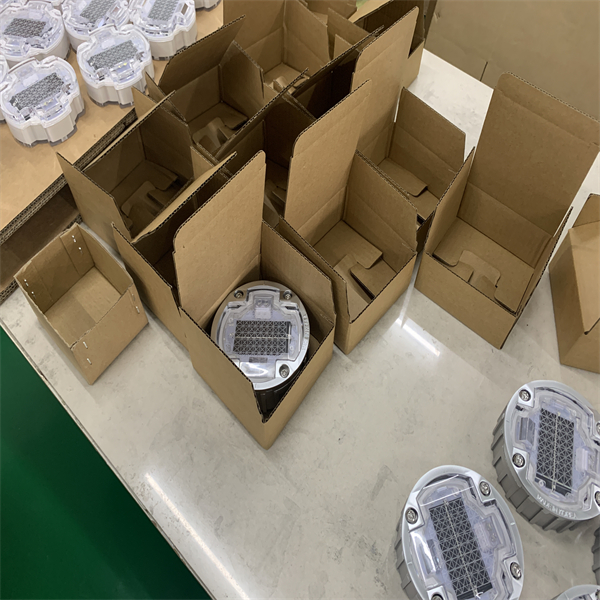
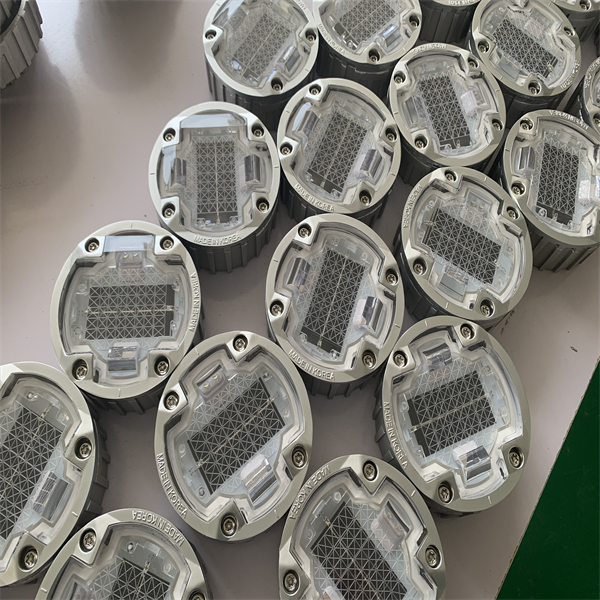
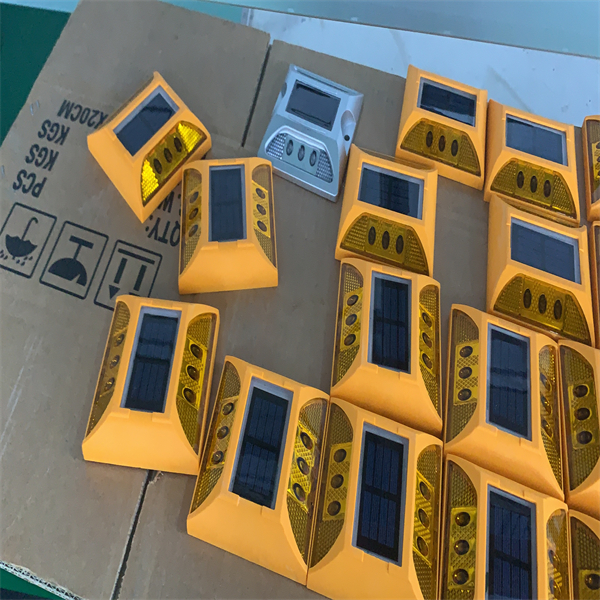
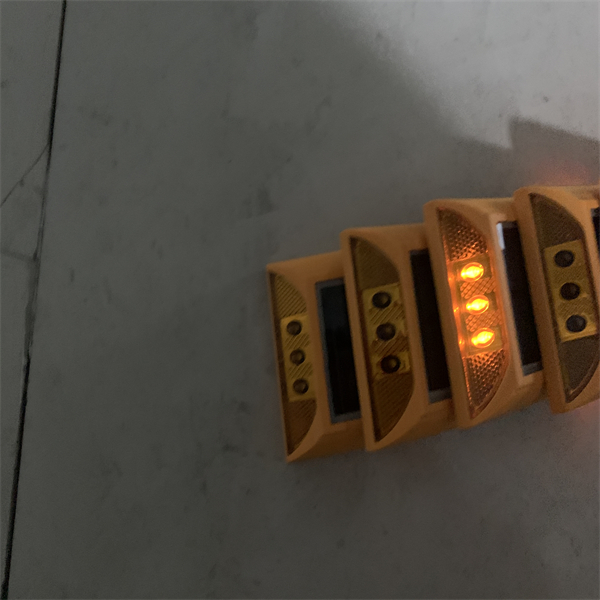
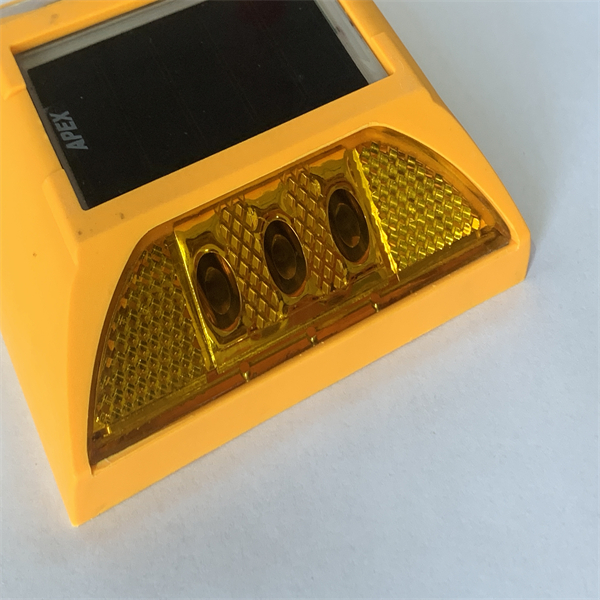
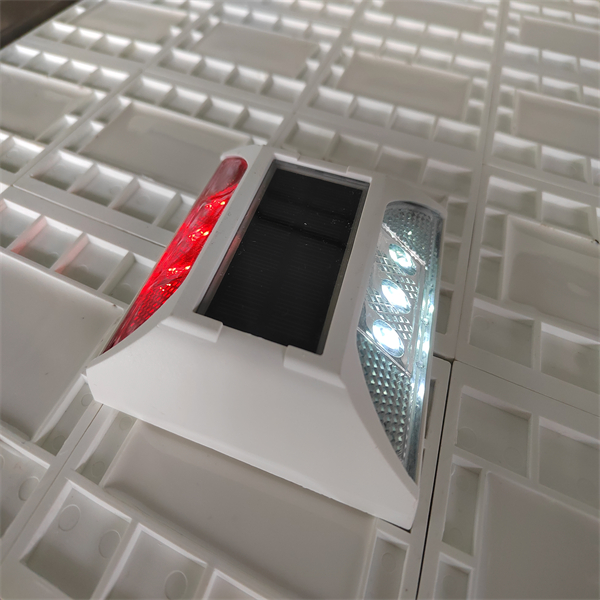
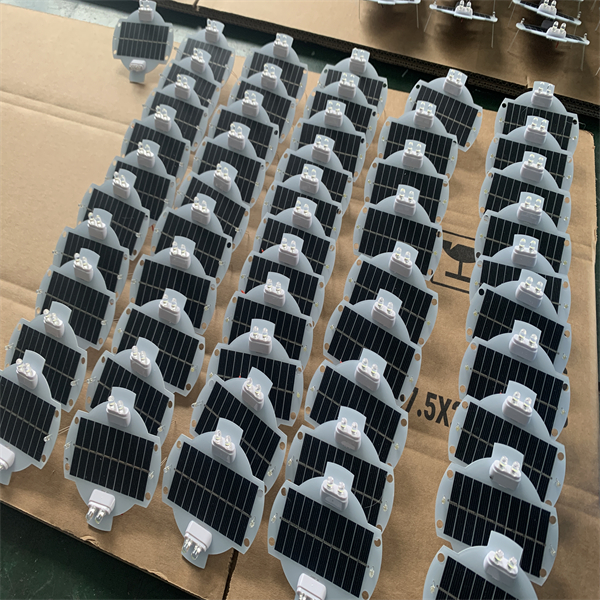
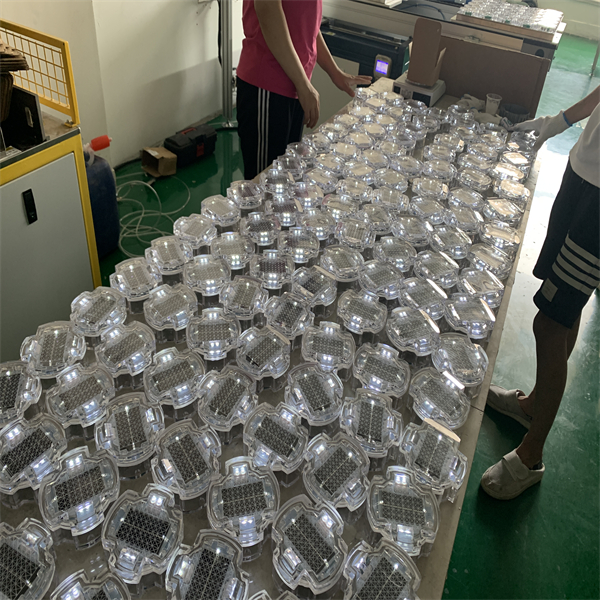
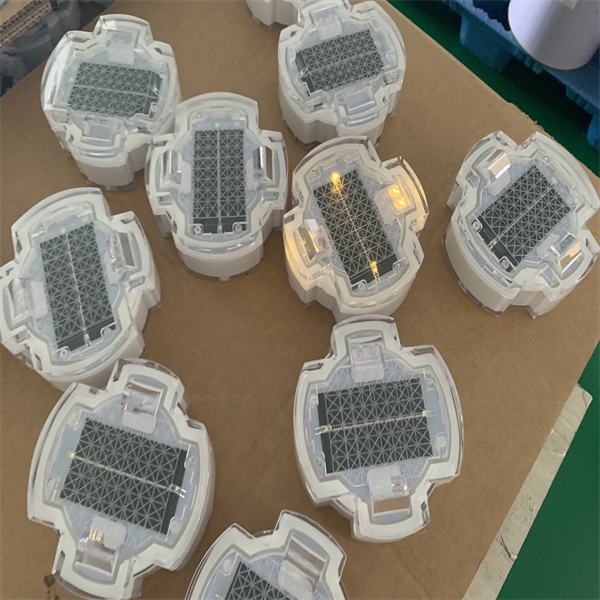
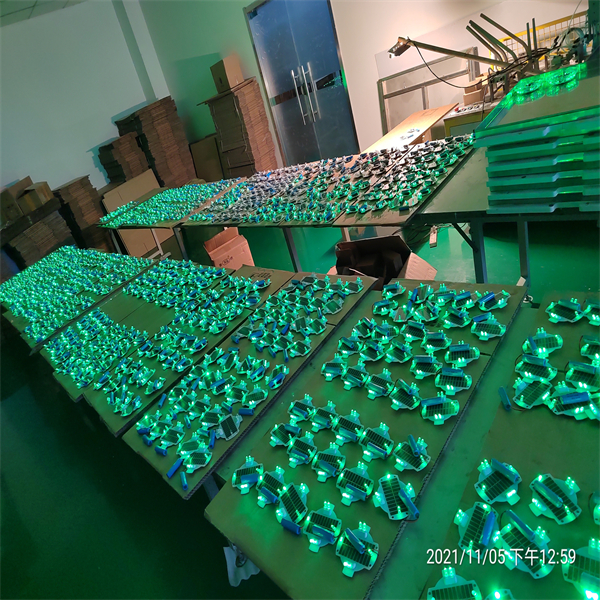
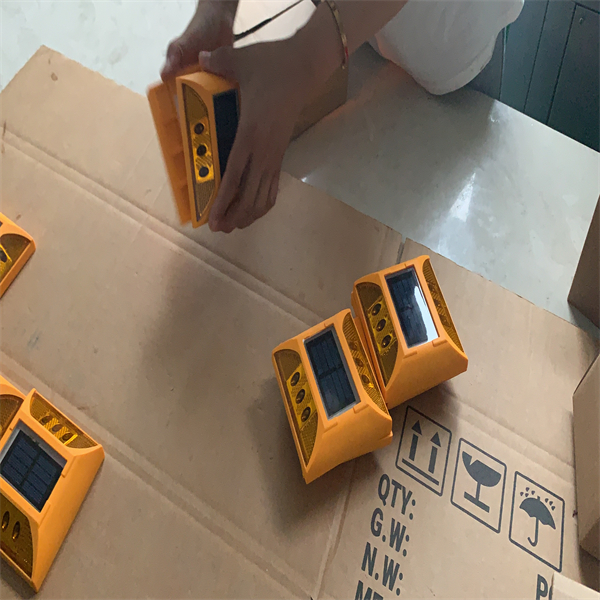
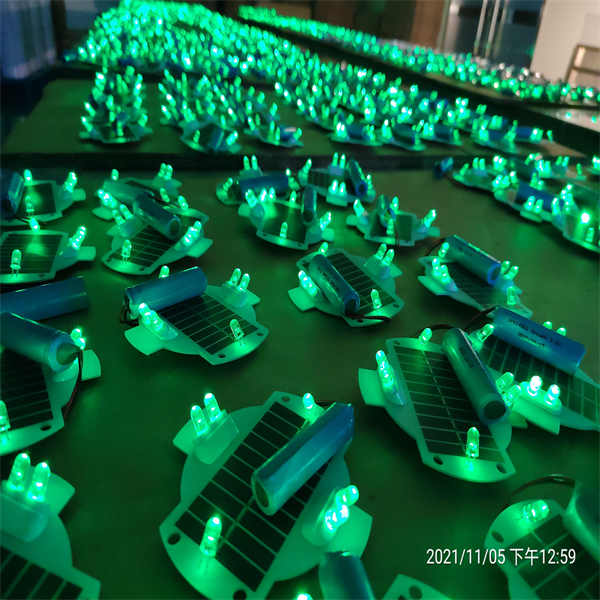
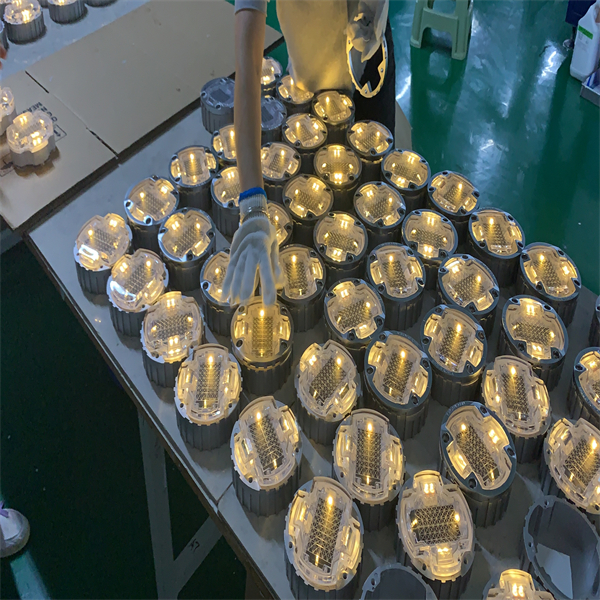
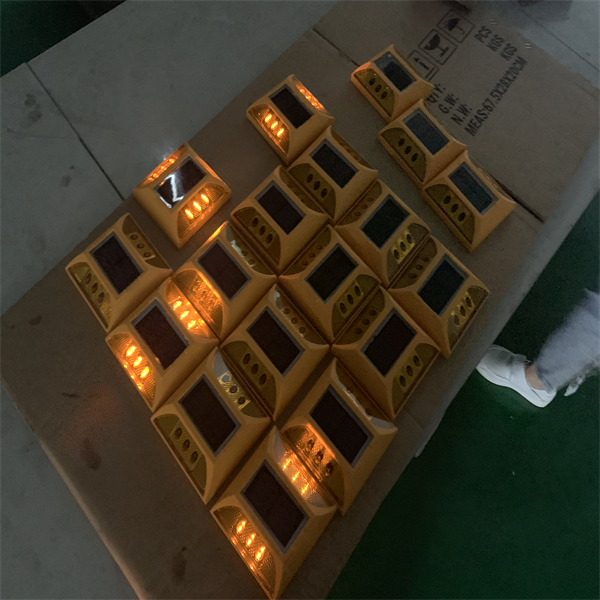
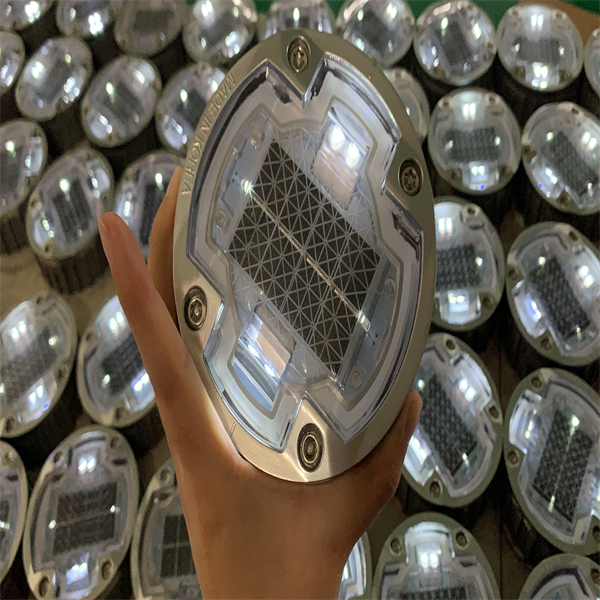
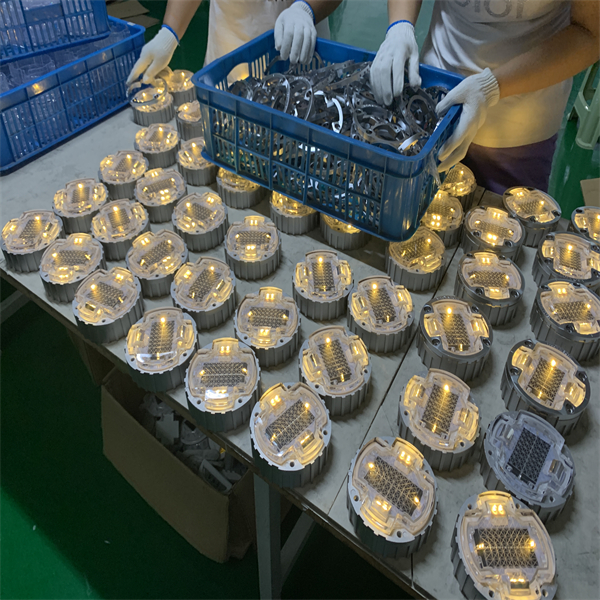
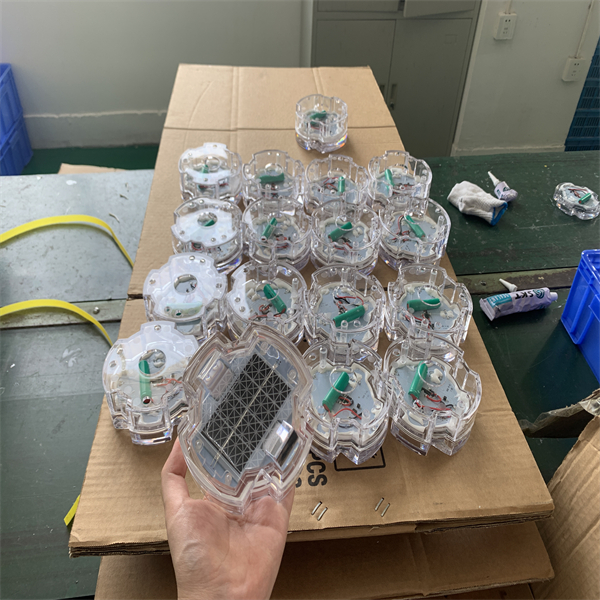
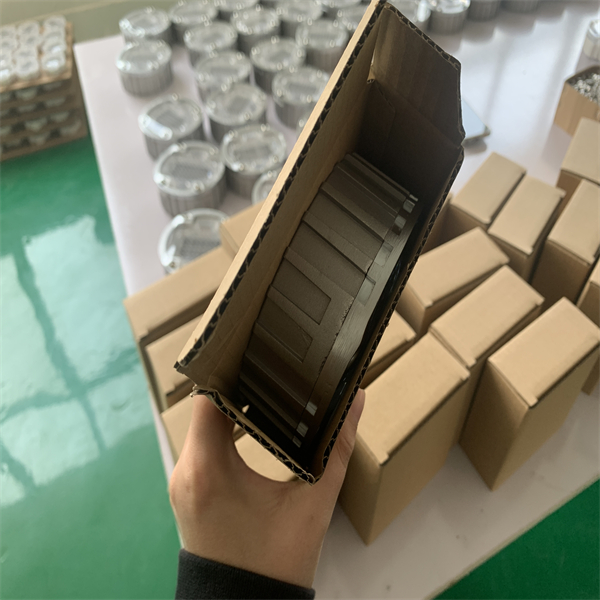
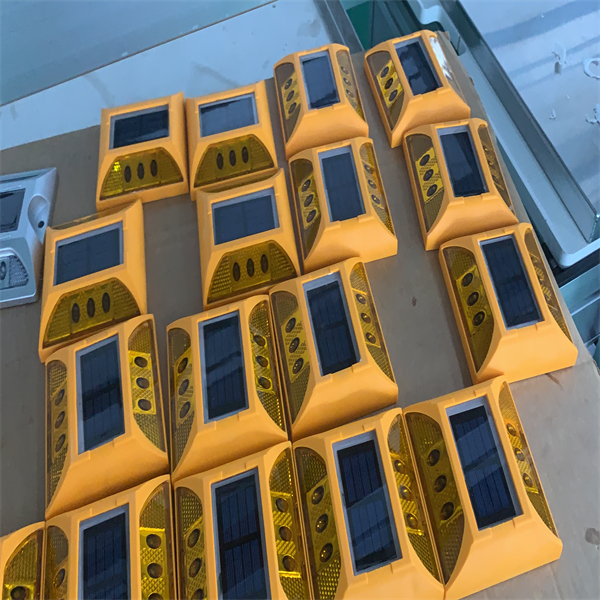
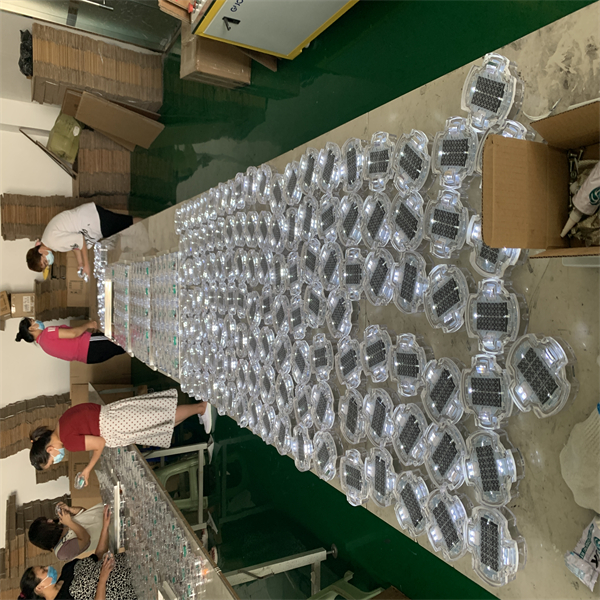
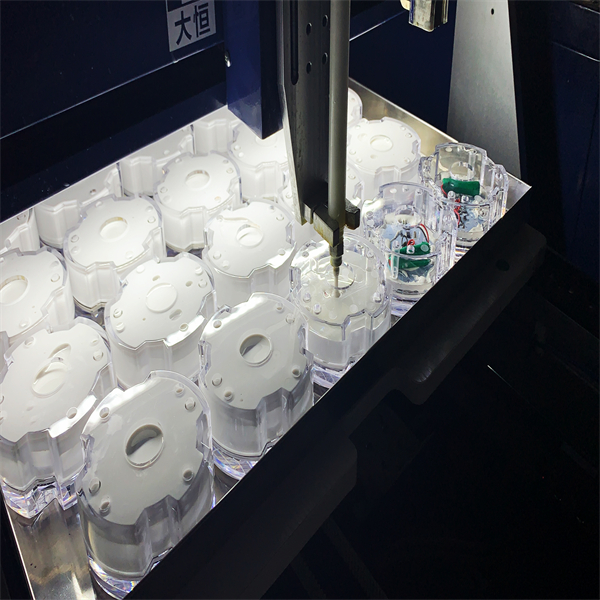
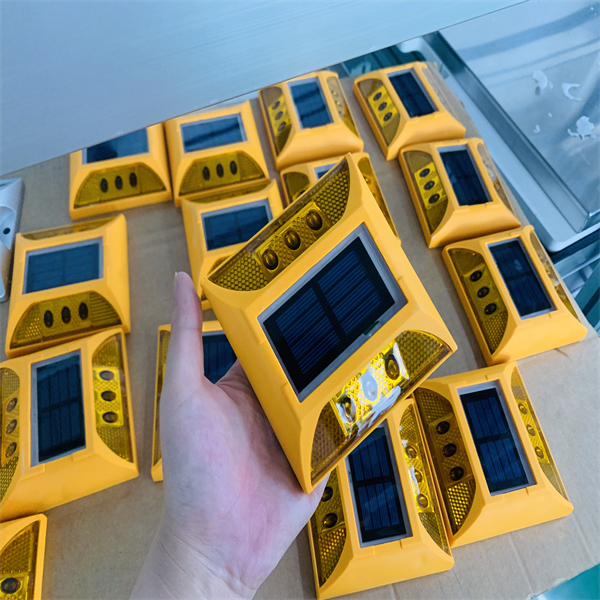
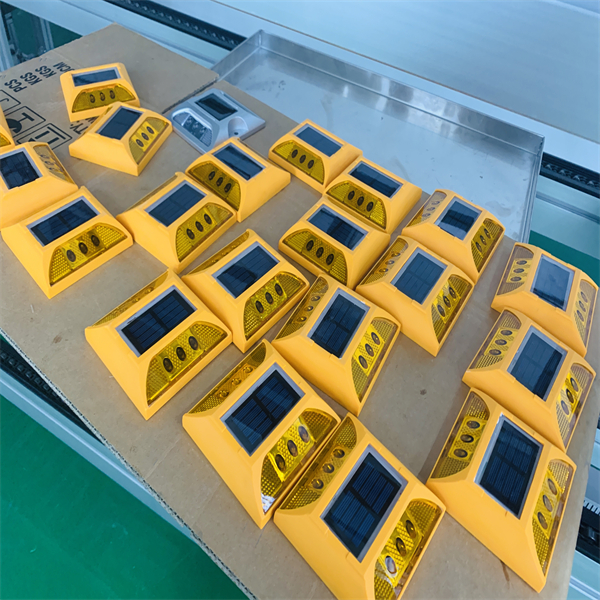
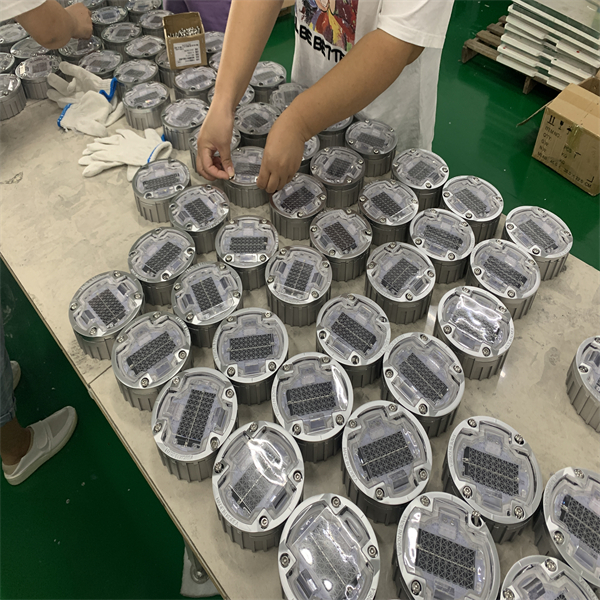
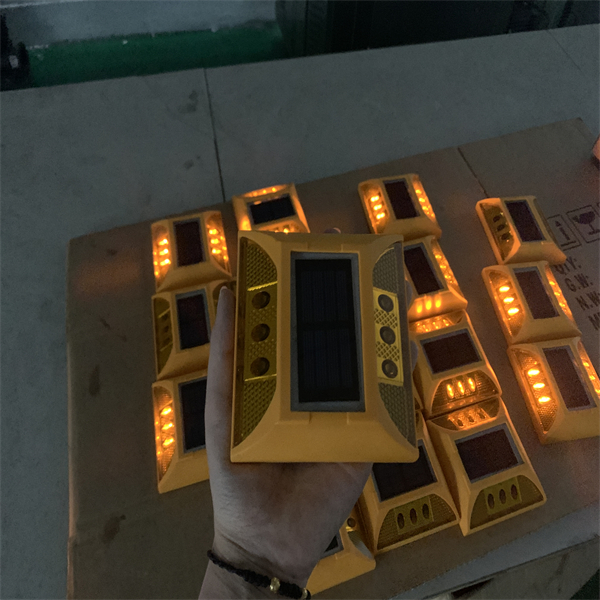
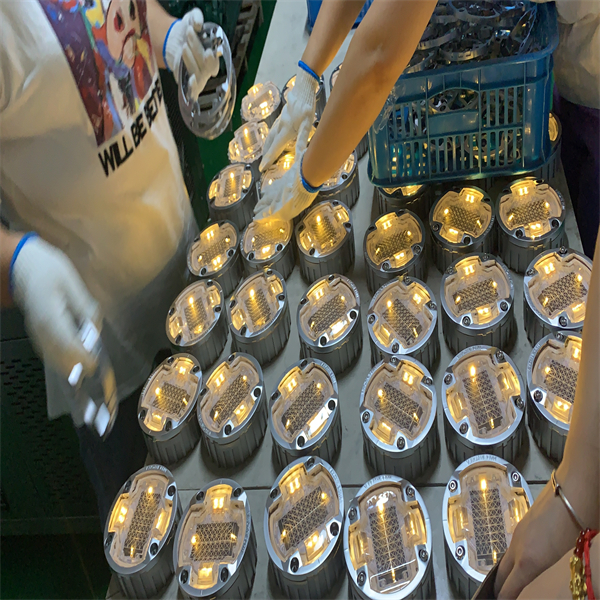
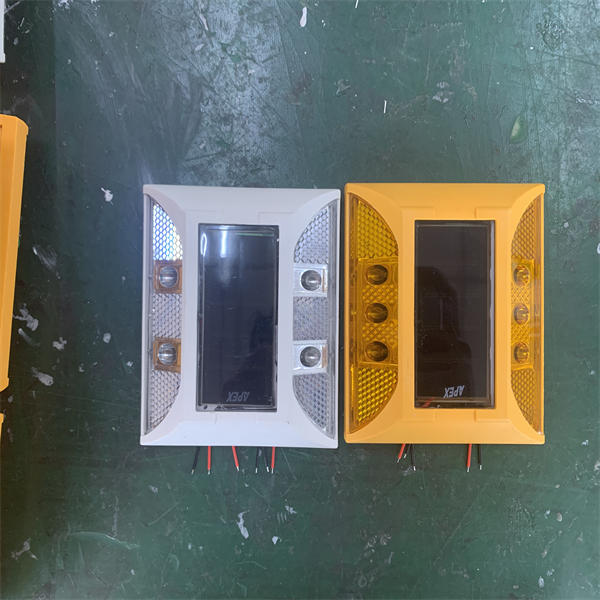
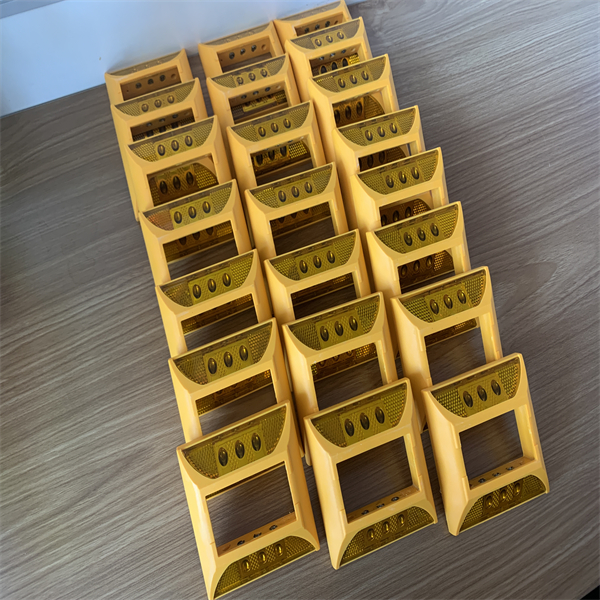
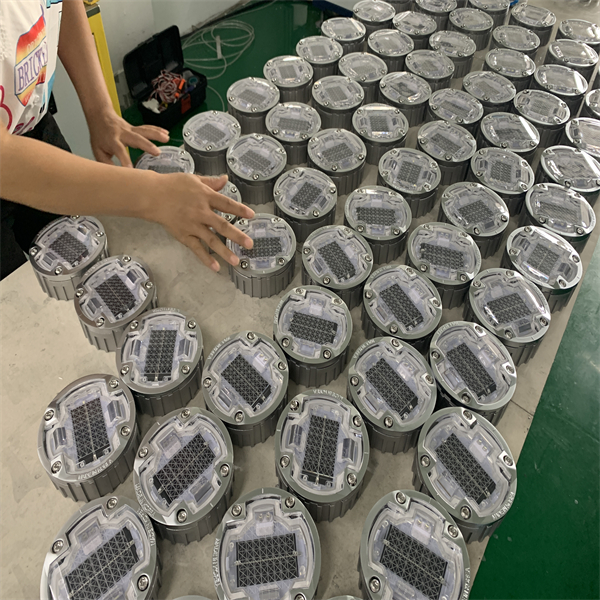
Road Studs (with feet)
- Auxiliary materials:
Epoxy resin A, B, cement
- Installation steps:
(1) First, use a ruler to determine the installation position, install one at 15m, (install according to the drawing), ensure that each position is longitudinally in a straight line, and at the same time horizontally aligned left and right, the installation distance shall be subject to the design requirements.
(2) (Installation of Road Studs with feet) Use an electric hammer with a diameter of ∮22mm to drill holes. The depth of the hole is 10mm longer than the nail feet of Road Studs. After drilling the hole, blow the dust out of the drilled hole.
(3) The ratio of glue is 1:0.7 for glue A and glue B, and then add 15%-30% cement as a filler (the glue is not easy to mix too much at a time, enough for one person to stick 50-70 road studs. glue). The colloid should be stirred evenly, and the color (hand electric drill with agitator) should be consistent. Each road stud needs about 40-50 grams of glue for bonding.
(4) The road surface should be cleaned at the installation position. Use a knife to put about 40-50 grams of glue into the drilled hole and the position required by the Road Studs to be installed. Put the Road Studs on, press hard and turn it left and right. , So that the road stud and the road are bonded tightly.
(5) After installing the Road Studs, scrape the spilled glue around the Road Studs with a knife and clean the road surface.
Six, matters needing attention
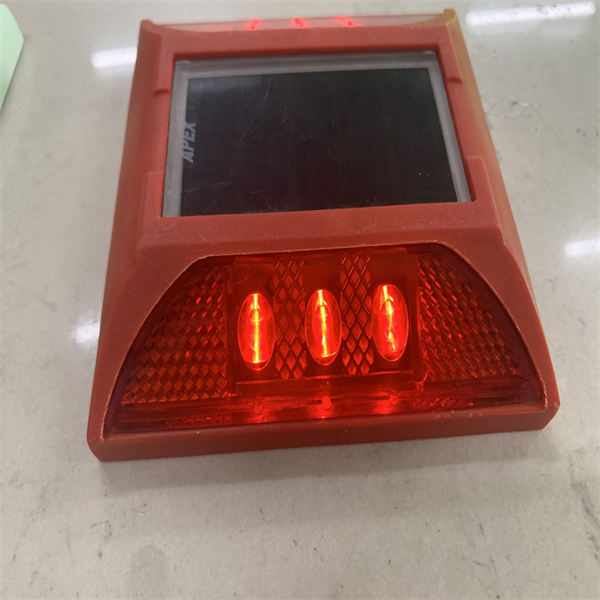
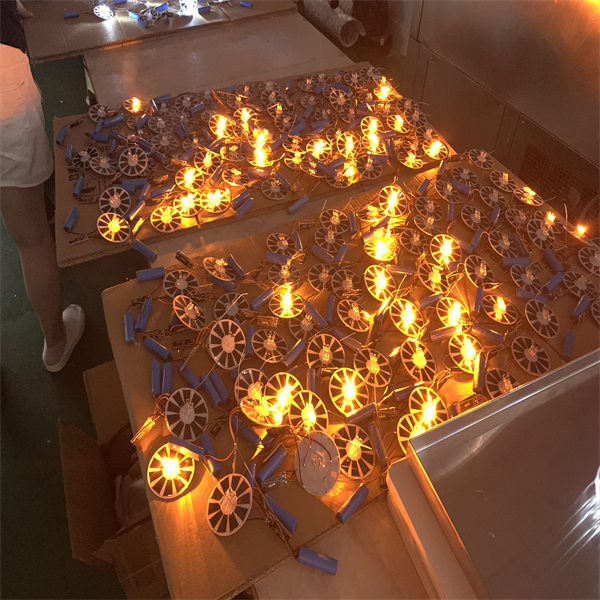
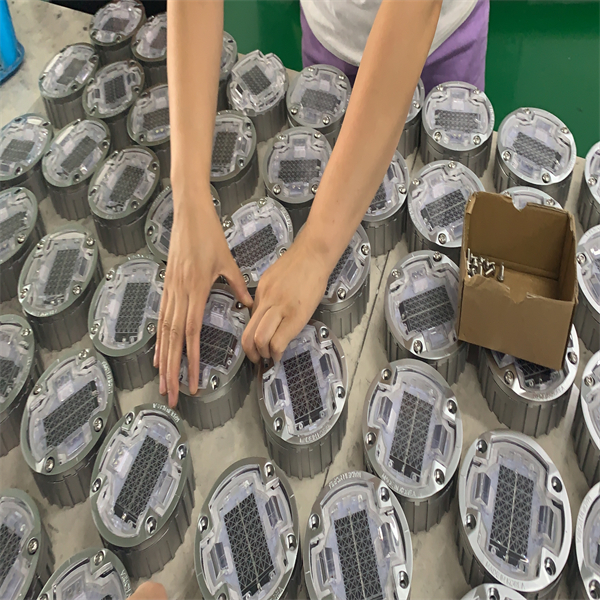
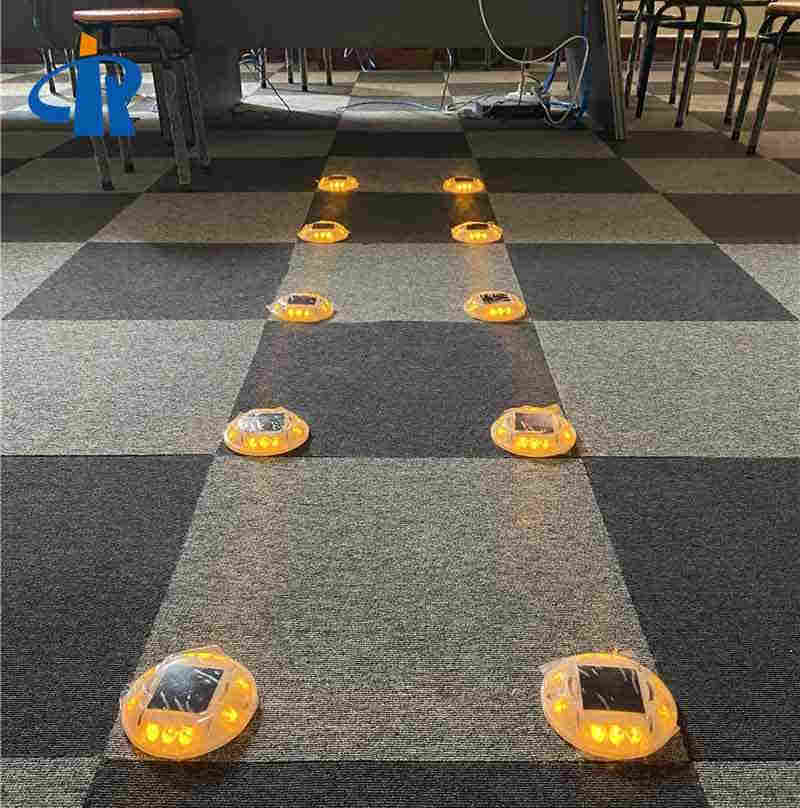
Do not touch the reflector with your hands, and avoid glue sticking to the reflector and affecting the reflective effect! Road Studs (easy to fall off) are not allowed to be installed on the road with water, dampness, or oil stains. Evacuate the road cone after 4 hours of installation.